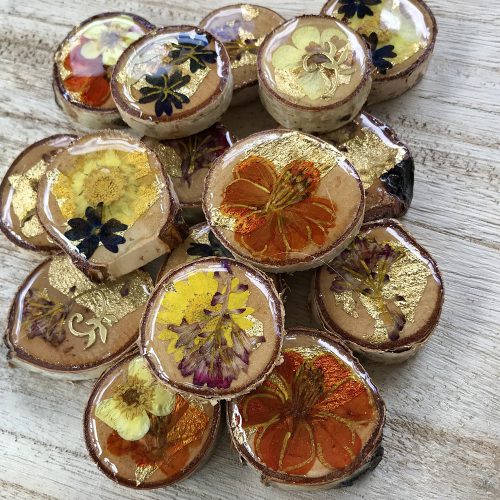
You may have seen something similar to this while scrolling through instagram or on Pinterest. Beautiful dried flowers appear to float under glass on slices of wood.

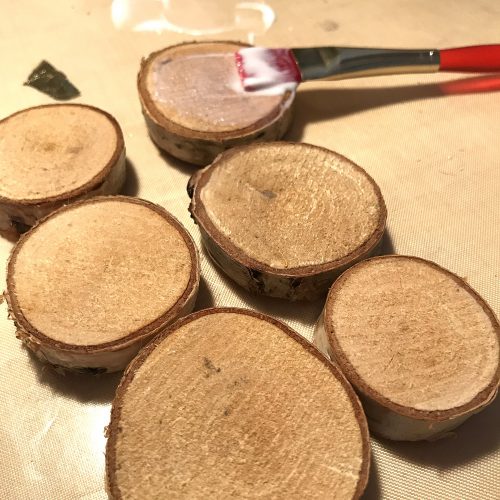
Our Outlet has many unique wood slices from small to large. Left unadorned, they are country casual. In the hands of a crafter though, they are a wonderful blank canvas.

If you plan on pouring resin onto your slice, you need to start your projects by applying several layers of a clear drying glue to the surface to seal the wood. I usually do this a full day before I begin working on their surface.

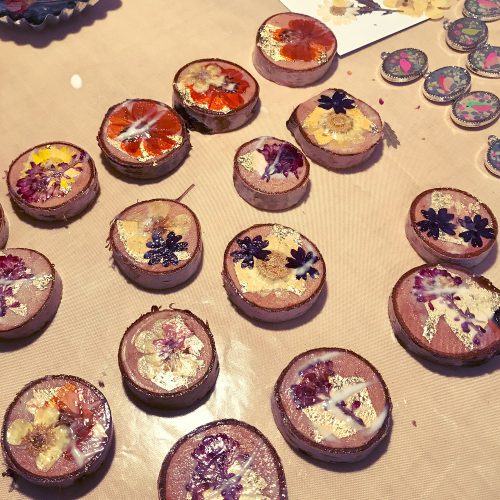
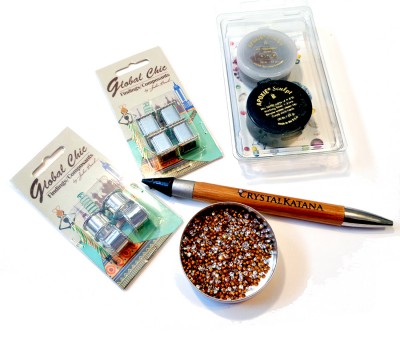
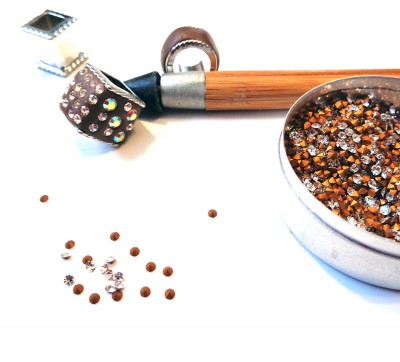
Once the wood is sealed, I then apply dried flowers, glitter, foil accents and more to the surface. I use markers to add some extra lines (see gold lines in finished slices) Everything is then carefully coated with several new layers of a clear drying glue and left to dry overnight.

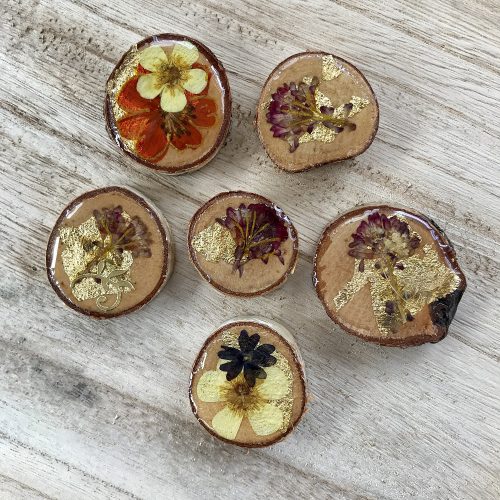
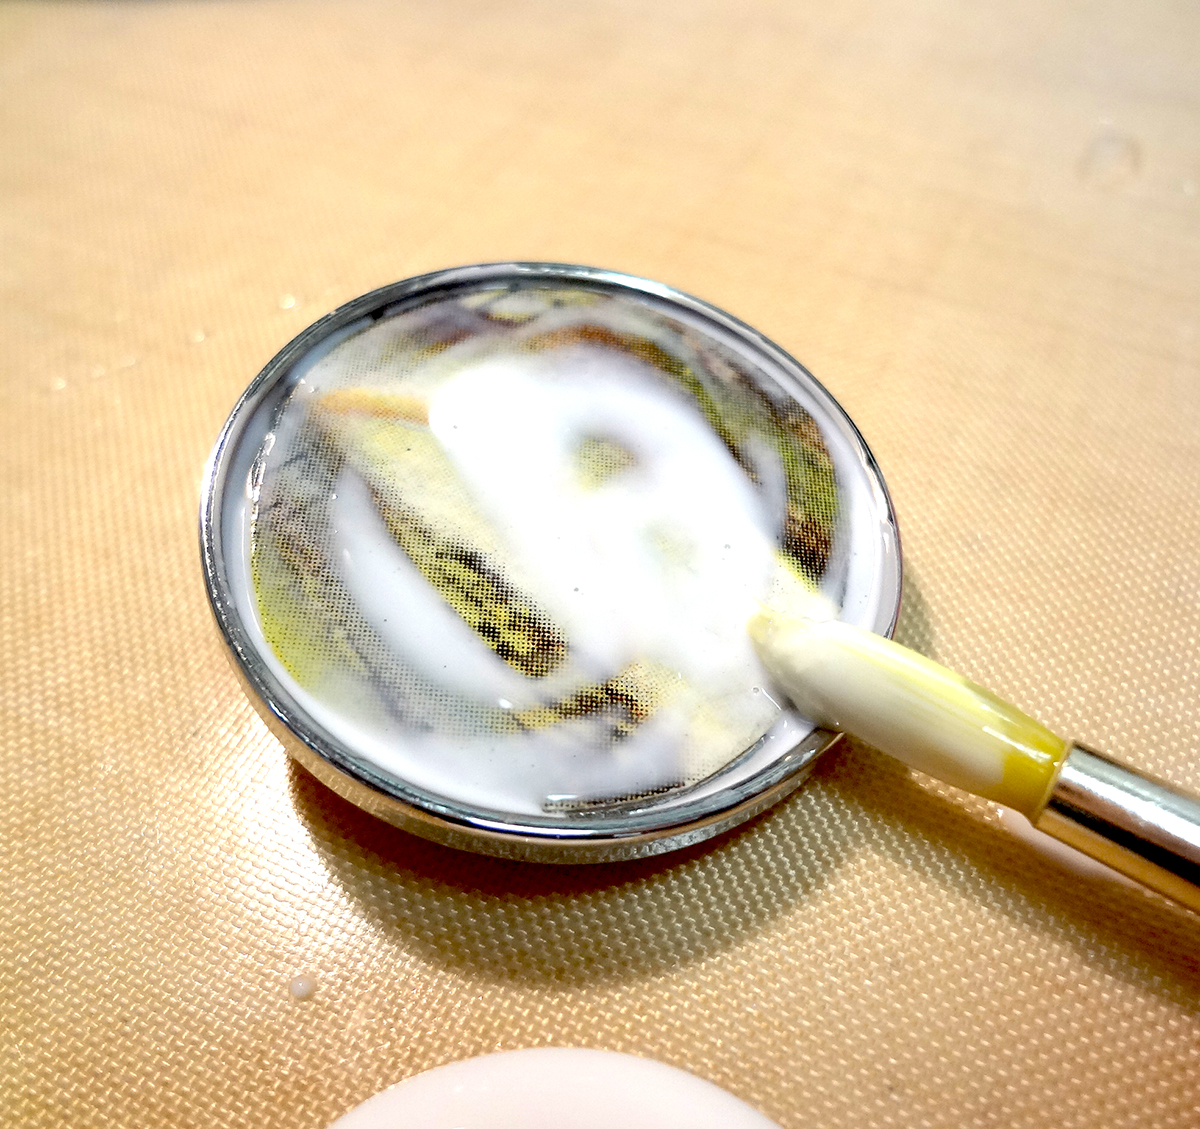
When everything is dry I make a small batch of a two-part epoxy resin and paint it on the surface of my wood slice. I call this the glaze coat.

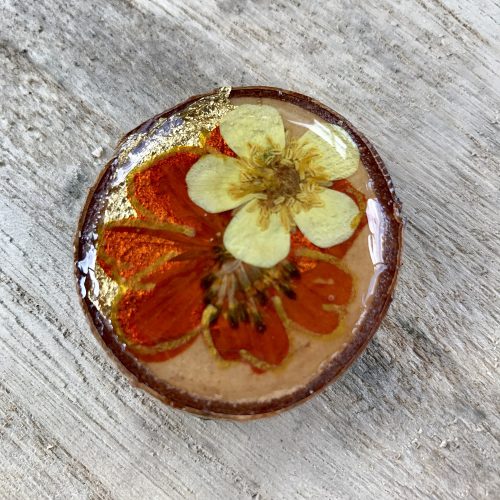
A second glaze coat the next day will ensure you have an even glassy surface.

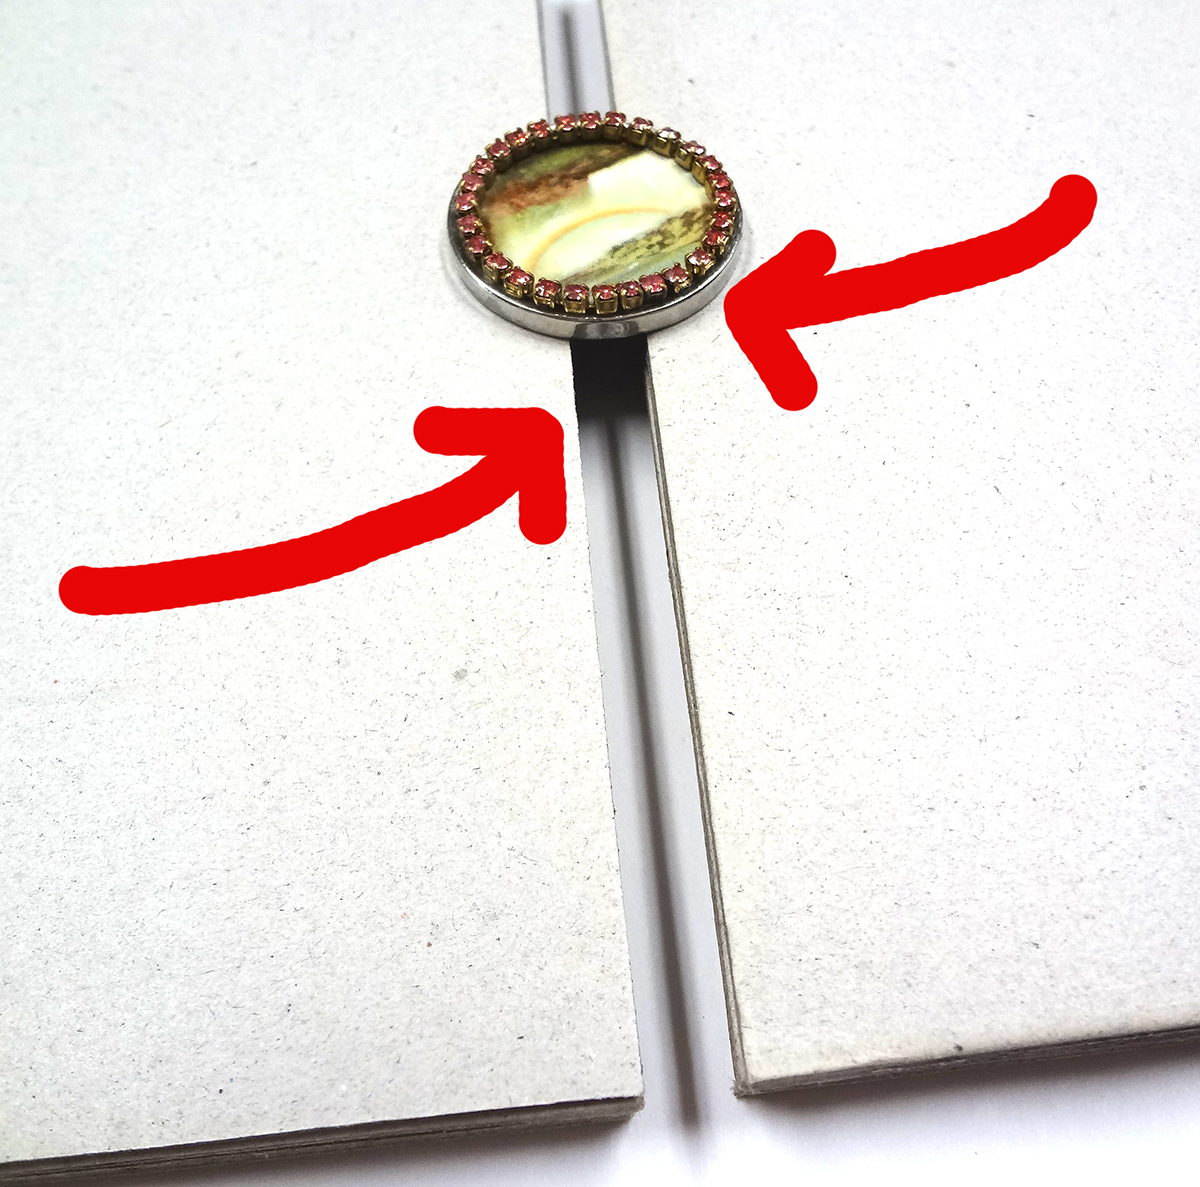
In the next day or two I will drill a hole through the slice and use ribbon to turn them into ornaments.

Global Chic

These are channel beads featuring crystal and clay.  They are easy to make and then string on our new Global Chic tapestry cord.

Global Chic Channel Beads

28800006-00 28800002-01

The project begins with our new Global Chic channel beads which are available is several shapes and sizes.  We also used Apoxie Sculpt, some diamond back crystals and a Crystal Katana tool.

Two Part Apoxy

Following the manufacturer’s instructions I made a small batch of clay.  It air cures, so no oven needed.

4

The “channel” of the bead gives you a perfect place to add clay.  The edges keep the clay from protruding out the sides.  The wooden tool you see is the Crystal Katana.  It makes picking up the crystals easy and fast.  You can see in this image how crystals were simply embedded in the clay.

5

A combination of crystal sizes also helps you to create interesting patterns.

6

The two finished beads air cured for 24 hours.  Then can now be incorporated into other Global Chic designs.

7

We could also pair these finished beads with some of the Global Chic Geometric Chain. Options are endless.  You can switch the color of the clay or crystals to create unique beads that coordinate with any component in this collection.

If you enjoy creating your own one of a kind jewelry, you will definitely love the Klik interchangeable jewelry collection in the Outlet.

For this project I gathered interesting shapes and some diamondback crystals.  Since these items are being embedded into the clay it was important to have something that could be pushed into into place.

All the Klik components are in the store along with this air drying epoxy clay (also known as resin clay).  The bezel blanks are a personal favorite.

After filling my klik bezel blanks with clay I simply played with the placement of my beads.

My bigger blank was fun to fill!  I brushed some black pearl-ex powder over the all the exposed clay and let everything air dry for 24 hours.  Then I just brushed away any excess powder.

The necklace component has room for one large and two small bezel blanks.

My small bezels have a different design.  They can also be set into the interchangeable klik earrings.

Imagine all the possibilities!


Klik Necklace by Carmi Cimicata

I have a Klik project to share with you.  This is my salute to vintage Niagara Falls.

This project begins with vintage postcards.  The Niagara Falls postcard gave me so many wonderful memories that I knew I would need to do something special with it.

There are two sizes and two lip depths to choose from.  I used a large snap with the 21mm lip for the main image and two small shallow 18mm lips for my side pieces.

This is the KLIK combo pendant that I “kliked” my finished snaps into.  This makes planning a necklace super easy!

When you plan to pour resin over paper you need to take the time to seal all your paper imagery.  I used several layers of a decoupage medium to seal my postcards.

In order to make sure my resin would not overflow, I set up a little cardboard channel to set my snaps on.  I filled my snaps with Jewelry Resin.

I love this set!  My last step was to select a chain.  Ready to wear in moments.

Resin is now in the Outlet.